How to Organize a Coffee and Milk Tea Station: 12 Practical Tips for Cafes, Home Kitchens and Restaurants

A cluttered beverage counter costs you more than it looks like it does. Baristas lose seconds hunting for lids, home cooks clear the same corner twice a day, and restaurant guests hesitate at a messy self-serve station. The fix is rarely a bigger shelf – it is a better layout. Below are twelve practical organizing tips that work across three very different settings: coffee and milk tea shops, home kitchens, and restaurant or hotel beverage stations.
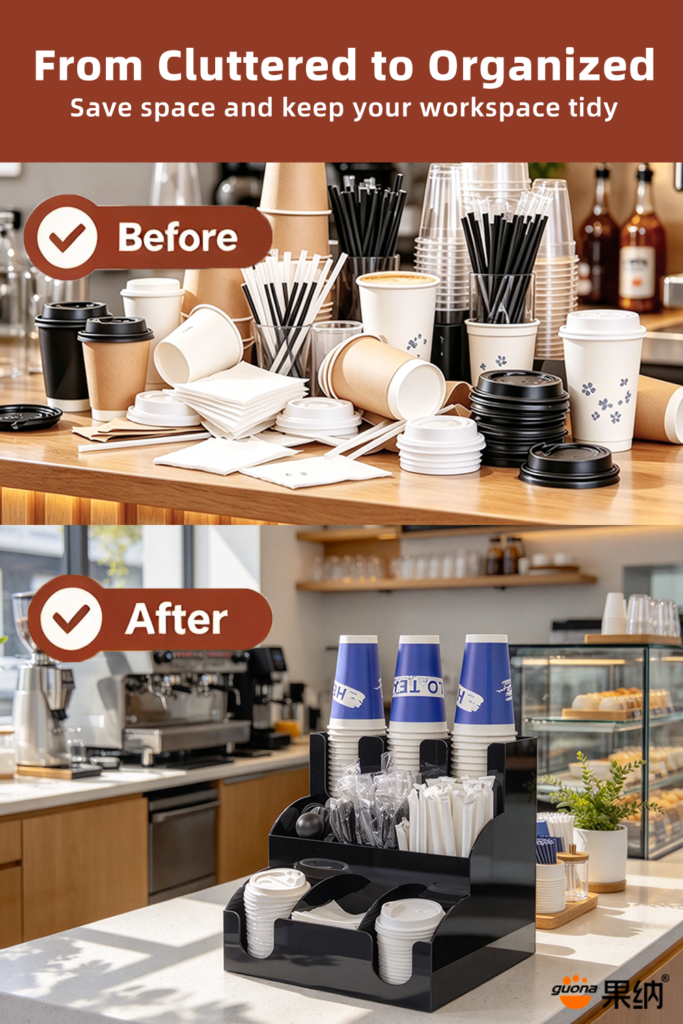
1. Map the drink flow before you buy anything
Walk through one real drink from start to finish: take a cup, add ice or syrup, seal, add a straw, hand it over. Every item you touched belongs within one arm’s reach of the step where you touched it. Anything you only use at opening or closing goes off the counter. This single exercise prevents most bad purchases, because it tells you how many compartments you actually need – not how many look good in a product photo.
2. Use the four-zone rule
Almost every beverage station, commercial or domestic, breaks into the same four zones. Assign each one a fixed physical area and never let them mix:https://zspxcraft.com/9-compartment-cup-lid-organizer/
- Zone 1 – Cups and lids: upright, dry, and pulled one at a time.
- Zone 2 – Straws, stirrers and napkins: the items guests or staff grab by reflex.
- Zone 3 – Sweeteners, creamers and tea bags: small, high-variety, easy to scatter.
- Zone 4 – Tools and backup stock: scissors, thermometers, spare sleeves, kept off the main line.
Once each zone has a home, restocking stops being a decision. Whoever is on shift knows exactly where things go, which matters most when your busiest hours are staffed by new hires.
3. Stand cups and lids upright
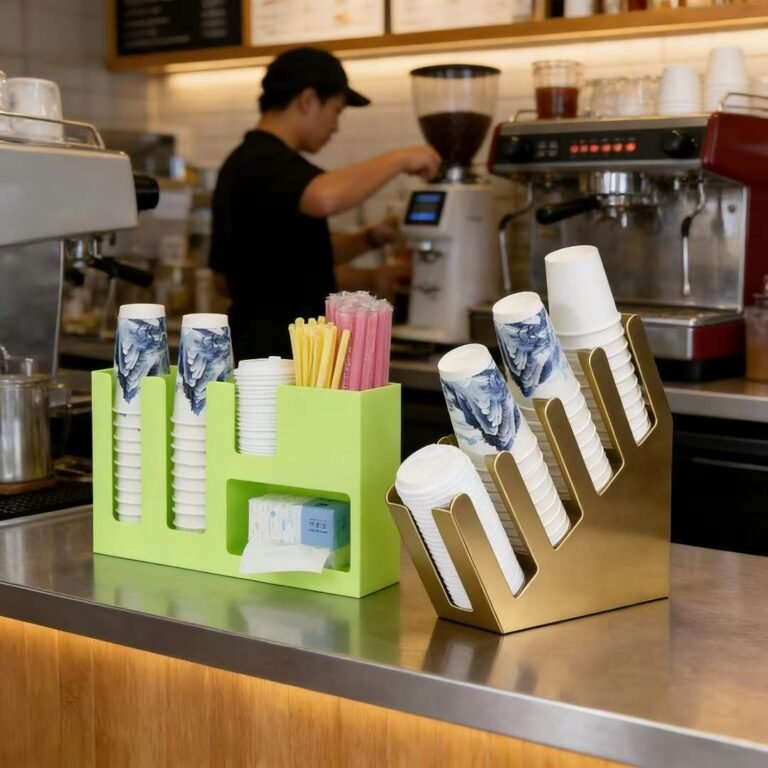
Stacking cups flat saves a little space and costs a lot of time – they tip, they nest too tightly, and the top one gets handled by everyone. Keep cups in an upright bay and give lids a separate dry slot. In milk tea shops, wet lids and dry cups should never share a compartment: moisture travels, and damp cups stick together at the worst possible moment.
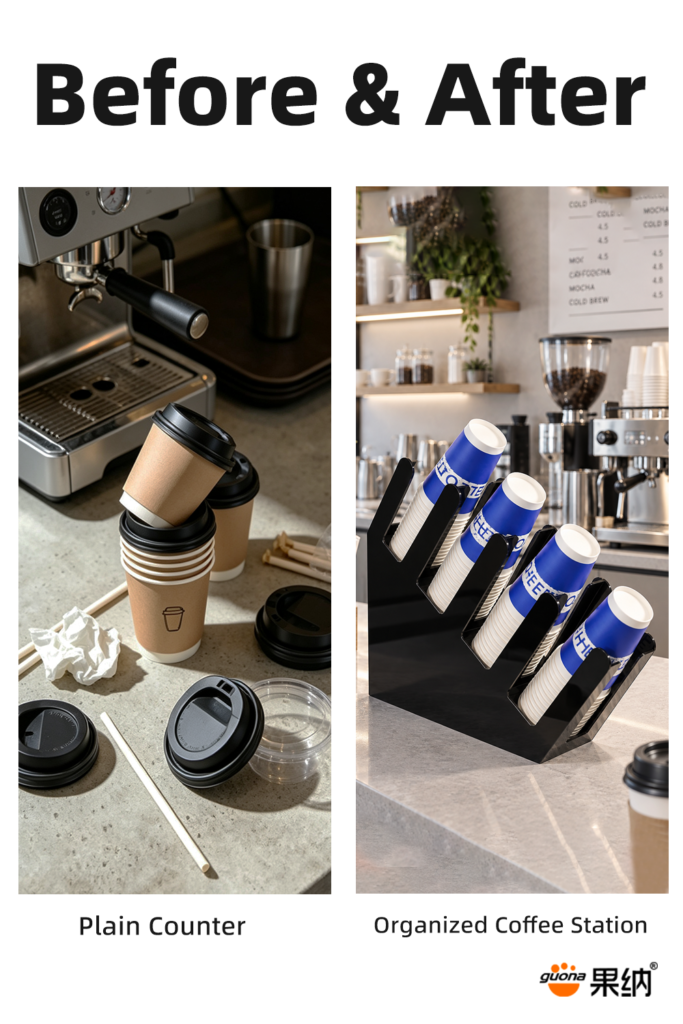
4. Keep the fastest items at hand height
As a working rule, your top ten most-used items should sit between waist and eye level, roughly the height where a relaxed hand lands. Reserve the lowest tier for backup stock and the highest for light, rarely touched items. If you catch yourself bending or stretching during peak service, the layout is wrong – not your staff.
5. Separate by sight, not by labels
Labels help in a home kitchen, but in a busy cafe nobody reads them. Use open compartments with visible dividers instead: the shape and position of each bay tells the brain where to reach before conscious thought kicks in. Store refills behind the front stock so the station always looks full from the customer side.
6. Refill from the back, pull from the front
Whenever you top up a compartment, put new stock behind the old. This simple habit rotates inventory, stops sugar packets from caking at the bottom of a bay, and keeps the front row looking presentable for guests.
7. Go vertical when the counter is short
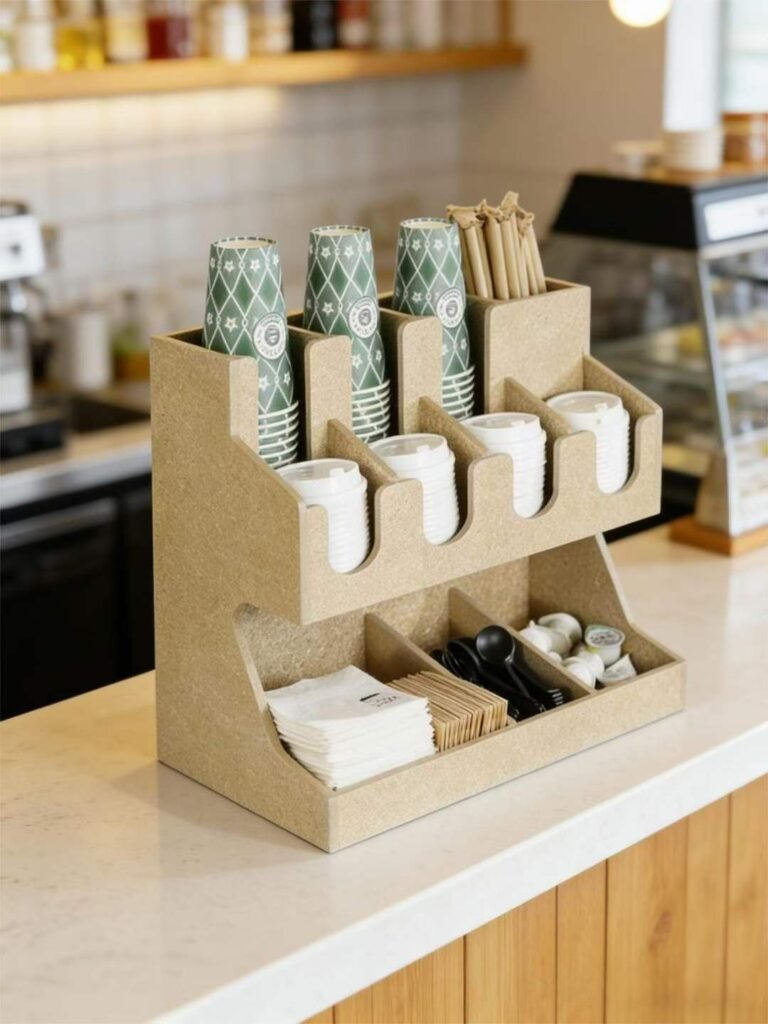
Home kitchens and takeaway-only shops usually lack depth more than they lack height. A multi-tier organizer doubles usable storage inside the same footprint: cups and lids up top, stirrers and napkins in the middle, sweeteners and backup below. Measure the clearance under your wall cabinets before buying – many counters have less usable height than they appear to.
8. Build a self-serve station guests can read
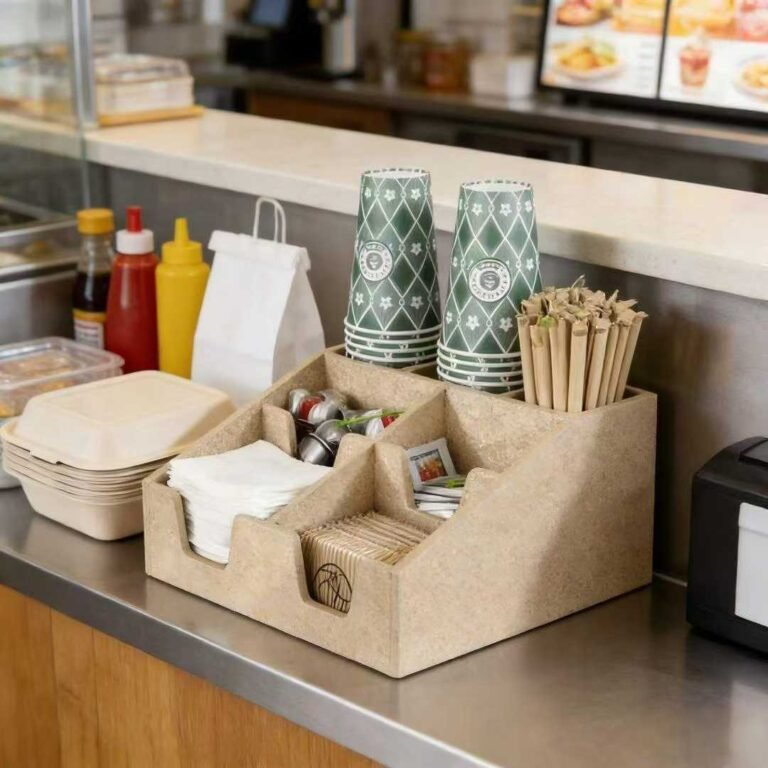
For restaurants, hotel breakfast areas and buffets, the goal is different: a stranger should understand the station in three seconds without asking. Group items in the order they are used – cup first, lid second, stirrer third, sweetener last – and keep the grouping horizontal rather than stacked deep. An open front also lets your staff see low stock from across the room.
9. Choose organizers that come apart
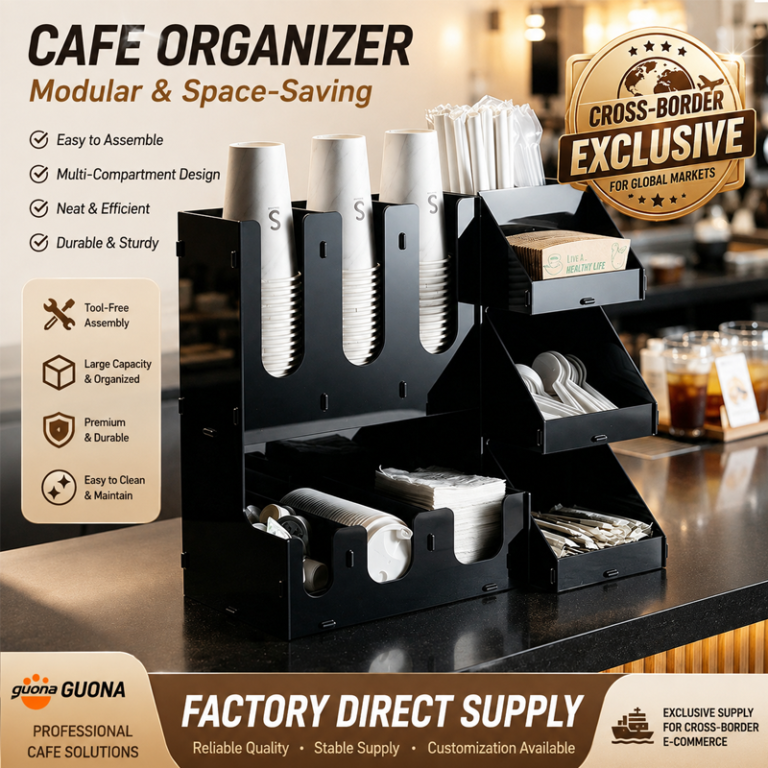
This is the tip most people learn the hard way. Sugar dust, dried milk and tea residue collect in corners a fixed rack can never reach. A detachable organizer – one whose tiers and dividers lift out without tools – can be stripped down, wiped flat in a sink and reassembled in minutes. For any station with a daily cleaning checklist, this is a hygiene feature, not a convenience. It also means the unit ships flat, which matters if you are importing.
10. Match the organizer to the surface
Polished hotel counters and stainless cafe bars need a non-slip base; a rack that slides every time someone pulls a cup will eventually end up on the floor. Home counters benefit from rounded edges and wipe-clean finishes that resist coffee staining. Check the base before you check the looks.
11. Run a five-minute daily reset
At close, do the same four things every day: restock the front row, empty and wipe the drip area, discard any packet that has gone damp, and return stray items to their zone. Five minutes nightly prevents the slow drift that turns an organized station back into a pile by the end of the month.
12. Review the layout when the menu changes
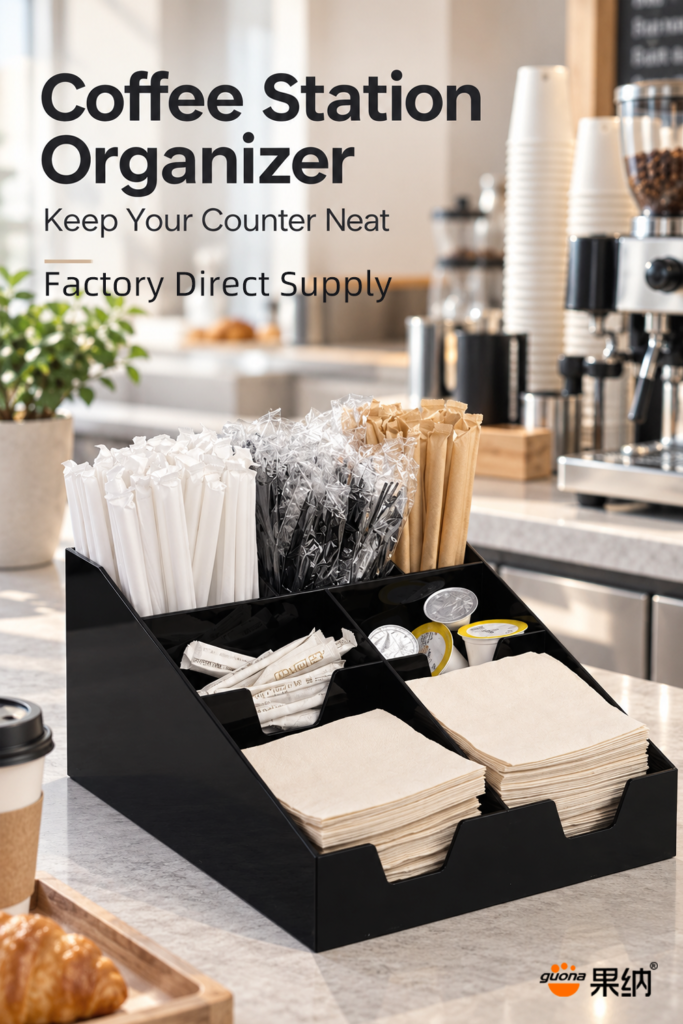
New cup size, new syrup, seasonal toppings – each one breaks an existing system. Re-walk the drink flow whenever the menu shifts and adjust compartment sizes rather than adding another container on top. Modular dividers make this adjustment cheap; fixed compartments make it a repurchase.
Common mistakes worth avoiding
- Buying by compartment count instead of by workflow – more slots do not mean faster service.
- Storing backup stock on the counter, which pushes daily items to the back.
- Mixing wet and dry items in one bay, the fastest route to stuck cups and spoiled packets.
- Ignoring cleaning access until the first hygiene inspection.
- Letting personal items share the station, which quietly destroys every zone you built.
What to look for in a beverage station organizer
If you are sourcing a rack for a cafe, a home coffee corner or a restaurant beverage bar, check these five things before comparing prices:
- Detachable tiers and removable dividers – for cleaning and for future menu changes.
- A stable, non-slip base that suits your actual counter surface.
- Upright cup bays sized to your cup diameter, not a generic average.
- Wipe-clean, food-safe materials with rounded edges that do not trap residue.
- A vertical footprint that fits the clearance you measured in tip 7.
Our detachable multi-tier organizers are built around exactly this checklist: tool-free assembly, removable dividers, upright cup and lid bays, and a flat-pack design that cuts freight on bulk orders. Because we are the source factory, tier count, compartment layout, colour and logo can all be adjusted to your station rather than the other way round. Send us your counter dimensions and a photo of your current setup, and we will propose a layout.
FAQ
How much counter space does a beverage station actually need?
Less than most people assume. A workable station needs roughly the width of your cup bay plus one hand’s reach on either side; when the counter is short, build upward with tiers instead of outward.
What is the right order for a self-serve drink station?
Follow the guest’s sequence: cups, then lids, then straws and stirrers, then sweeteners and creamers, and napkins last. Horizontal grouping reads faster than deep stacking.
How often should a commercial beverage station be deep-cleaned?
Wipe the surface daily and strip the organizer down for a full wash at least weekly, or more often in high-volume milk tea and juice service where sugar residue builds quickly.
Can one organizer work for both a milk tea shop and a home kitchen?
Yes, if it has removable dividers. The compartment sizes differ – home stations hold mugs and pods, milk tea stations hold straws and sealing supplies – but the frame can be the same.
Ready to rebuild your beverage station? Tell us your counter size, cup diameter and daily drink volume – our team will propose a compartment layout, send a sample, and quote factory-direct pricing within 24 hours.